Manual Sparkling Water Maker: 1L Bottle & CO2 Fit Guide
Home Sparkling Water Maker: Manual Carbonation with a 1L Bottle and CO₂ Compatibility
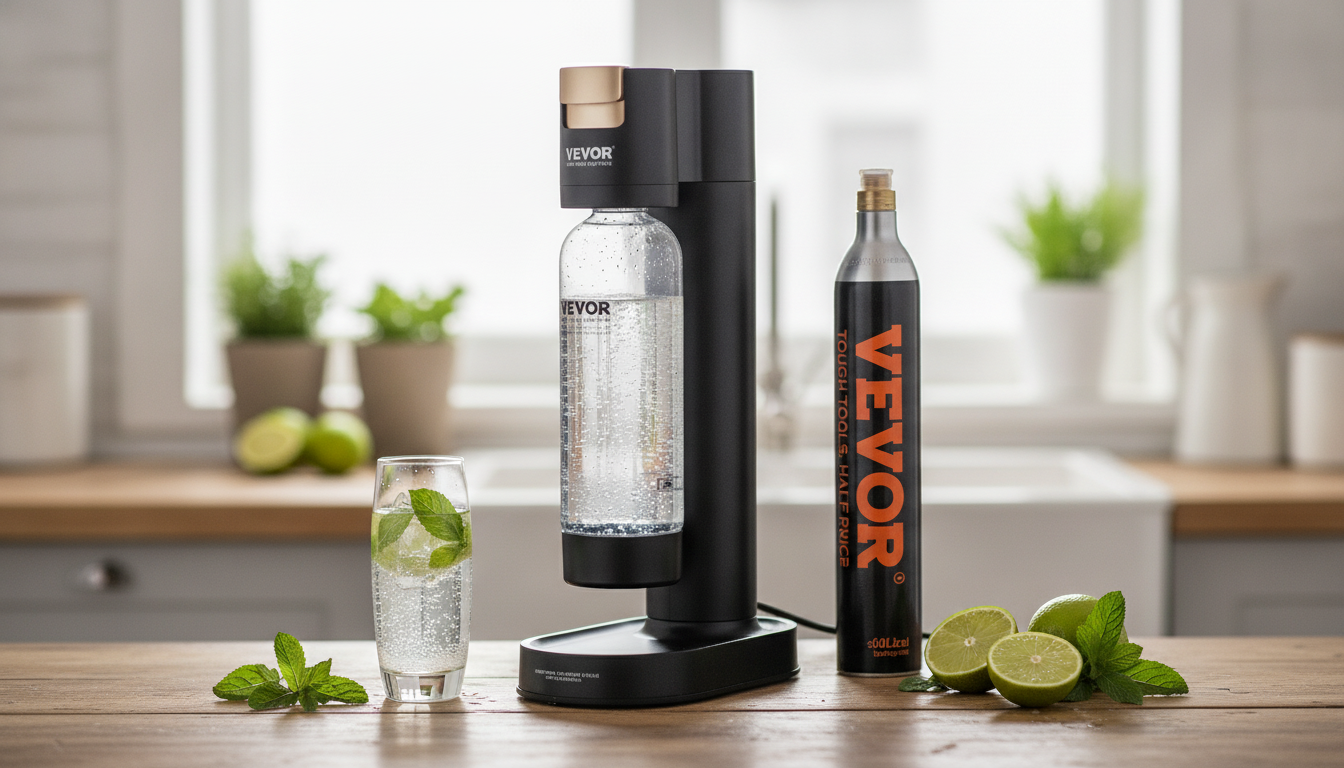
A manual sparkling water maker turns plain water into crisp, fizzy refreshment in seconds—no electricity required and no waiting on deliveries of heavy bottles. Because you control the carbonation, it’s easy to pour a gentle sparkle for dinner, then make a punchier batch for mocktails later. Below is a practical guide to how a manual unit works, what “CO₂ compatibility” really means, how to set up a 1L bottle for everyday use, and how to keep bubbles snappy and consistent.
What a manual sparkling water maker does (and what it doesn’t)
A manual sparkling water maker carbonates cold water by injecting pressurized CO₂ into a dedicated bottle. In a few controlled presses, dissolved CO₂ forms carbonic acid and creates the bubbles and “bite” associated with sparkling water.
- No power needed: Manual operation means no outlet, no charging, and generally fewer electronic parts to troubleshoot.
- Water-first design: Most machines are intended for carbonating water only; flavors are usually added afterward to reduce foaming and avoid sticky buildup.
- Adjustable fizz: Carbonation strength changes with water temperature and how many short presses you use.
- Not for thick liquids: Juice, milk, and sugary mixes can foam aggressively and may be unsafe unless the manufacturer explicitly says they’re supported.
CO₂ cylinder compatibility and what to confirm before buying refills
“CO₂ compatibility” isn’t one universal standard—it refers to whether the machine’s cylinder interface matches the cylinder you’re trying to use. Before buying refills, confirm the exact connection type your unit accepts, and only use approved adapters if the product documentation specifies them. Mismatched cylinders or improvised fittings can leak (wasting gas) and create safety issues.
Also verify that your CO₂ is food-grade and intended for beverage carbonation. In the U.S., carbon dioxide is permitted for direct addition to food under FDA regulations (see 21 CFR Part 184 for reference), but the cylinder still needs to be labeled appropriately for beverage use.
Quick compatibility checklist for CO₂ refills
| What to check | Why it matters | What to do |
|---|---|---|
| Connection type (quick-connect vs threaded) | Determines whether the cylinder can attach securely | Match the machine’s required connection or use the specified adapter |
| Food-grade CO₂ | Impacts taste and safety for beverages | Buy cylinders labeled for beverage/food use |
| Cylinder exchange/refill availability | Affects long-term convenience and cost | Identify nearby exchange points or refill shops before running out |
| Leak test after installation | Prevents gas waste and unsafe buildup in small spaces | Listen/smell for leaks; follow the manual’s verification steps |
What comes with the machine and how the 1L bottle fits into daily use
A 1L bottle is a practical sweet spot: large enough to cover meals and hydration through the day, but small enough to chill quickly and fit in most refrigerator doors. Because carbonation depends on pressure, the bottle supplied (or recommended) by the manufacturer is part of the system—avoid substituting with non-rated bottles.
- Batch-friendly: One liter works well for the dinner table, mixing spritzers, and topping off reusable glasses.
- Use the fill line: Staying below the indicated fill line leaves headspace for CO₂ and reduces foaming.
- Cold water performs better: Chilling the filled bottle improves CO₂ absorption and helps bubbles last longer.
- Replace worn bottles: If the bottle becomes scratched, cloudy, or shows stress marks, replace it per the manufacturer’s schedule.
Setup and first carbonation: a practical walkthrough
For the cleanest first pour, start with a quick rinse and a careful check of seals. Small issues—like a mis-seated gasket—can cause weak carbonation or hissing.
- Rinse and inspect: Rinse the bottle, then confirm any seals/gaskets are seated properly.
- Install the CO₂ cylinder: Follow the unit’s instructions; tighten until snug, but don’t over-tighten.
- Fill with very cold water: Fill the 1L bottle to the indicated level. Cold tap water is good; refrigerated water is better.
- Lock the bottle in place: Attach/lock it into the machine as designed (don’t force alignment).
- Carbonate with short presses: Use controlled presses, pausing briefly between them to let gas dissolve and stabilize.
- Cap and chill: Remove the bottle carefully, let foam settle, then cap promptly and refrigerate for tighter, longer-lasting bubbles.
Dialing in carbonation: light, medium, and extra fizzy
The best “secret” to consistent fizz is temperature control. Colder water holds more CO₂, which translates to better bite and better retention after you pour. If you want a stronger sparkle, build up to it with additional short presses rather than one long blast that can trigger overflow.
Cleaning, care, and safe handling
Keeping the bottle, cap, and seals clean helps maintain both carbonation performance and flavor. For general kitchen hygiene practices—especially when handling drink containers—CDC guidance on cleaning and chilling is a helpful baseline (see CDC food safety resources).
Is a manual soda machine the right fit for your kitchen?
Featured in-stock picks
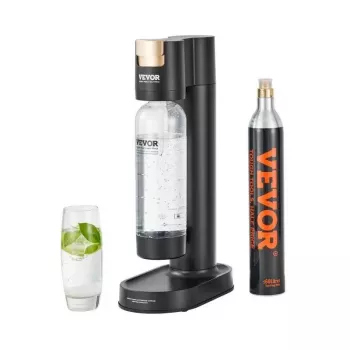
- Home Sparkling Water Maker – Manual Soda Machine with 1L Bottle & CO2 Compatibility
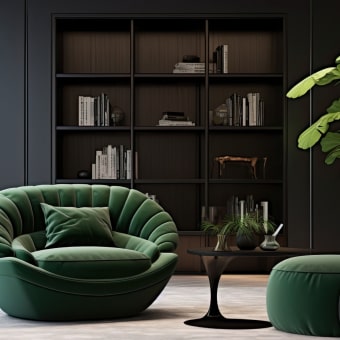
- Marble Travertine Taper Candle Holder for Home Decor and Elegant Events
FAQ
Can flavored drinks be carbonated directly in the bottle?
It’s best to carbonate water first, then add flavor after pouring. This helps prevent excessive foaming and keeps the machine and seals cleaner; only carbonate flavored liquids if the manufacturer explicitly says it’s allowed.
Why does my sparkling water go flat quickly?
Use colder water, add a bit more carbonation (more short presses), and cap immediately before refrigerating. If the issue persists, check the bottle and cap for wear or a poor seal that lets CO₂ escape.
How do I know if my CO₂ cylinder is compatible?
Match the machine’s required connection type (quick-connect or threaded) and use only specified adapters. Choose food-grade CO₂ and follow the product manual for approved cylinder formats to avoid leaks or improper fit.


Leave a comment